This is my approach to Architectural Visualization. Here is a step-by-step outline of the workflow that I employ to achieve the highest quality results. Each step is presented as a section, using visual aids and descriptions to represent the entire process.
1. Conceptualization
Conceptualization begins with understanding the needs and vision of the client. Creating initial concepts and gathering tools like sketches, mood boards, and reference images is crucial.
Acquiring project-related drawings including plans, elevations, sections, subsections, lighting drawings, and more, is essential. While it's possible to complete a 3D model with just plans and elevations, additional details and drawings are required for greater accuracy and precision.
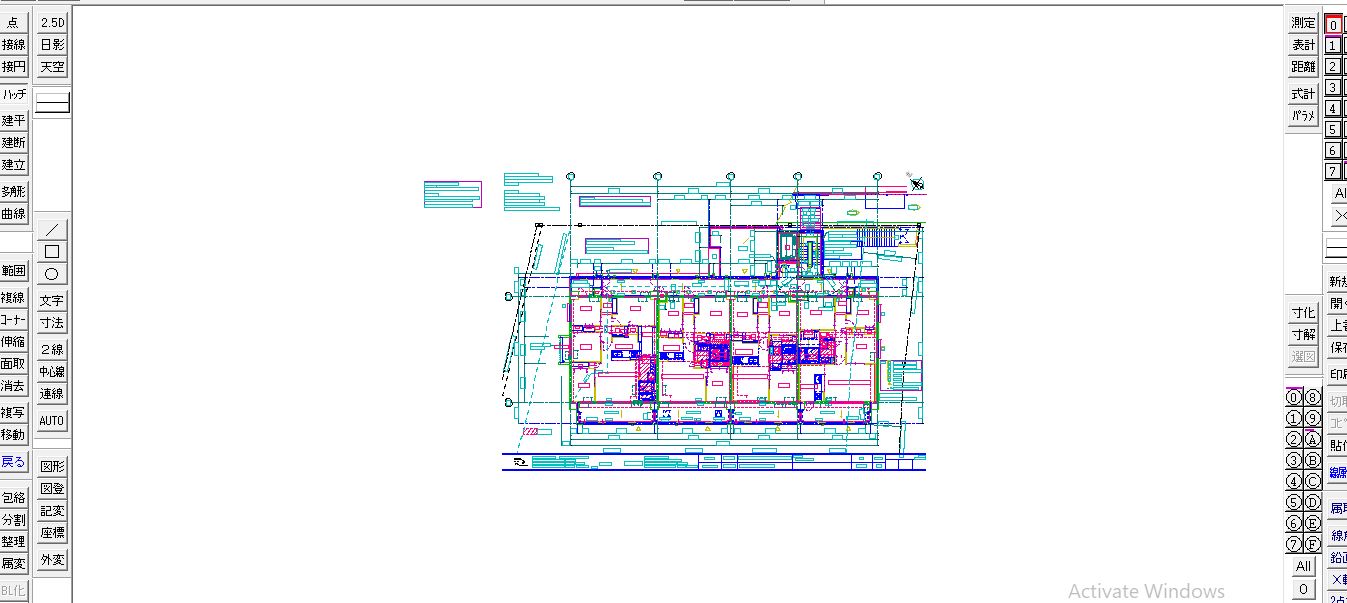
I use JWW as main the tool to study, understand, and initate 3d modeling process. I also use AutoCAD for this purpose. PDF files also is used as reference in many cases
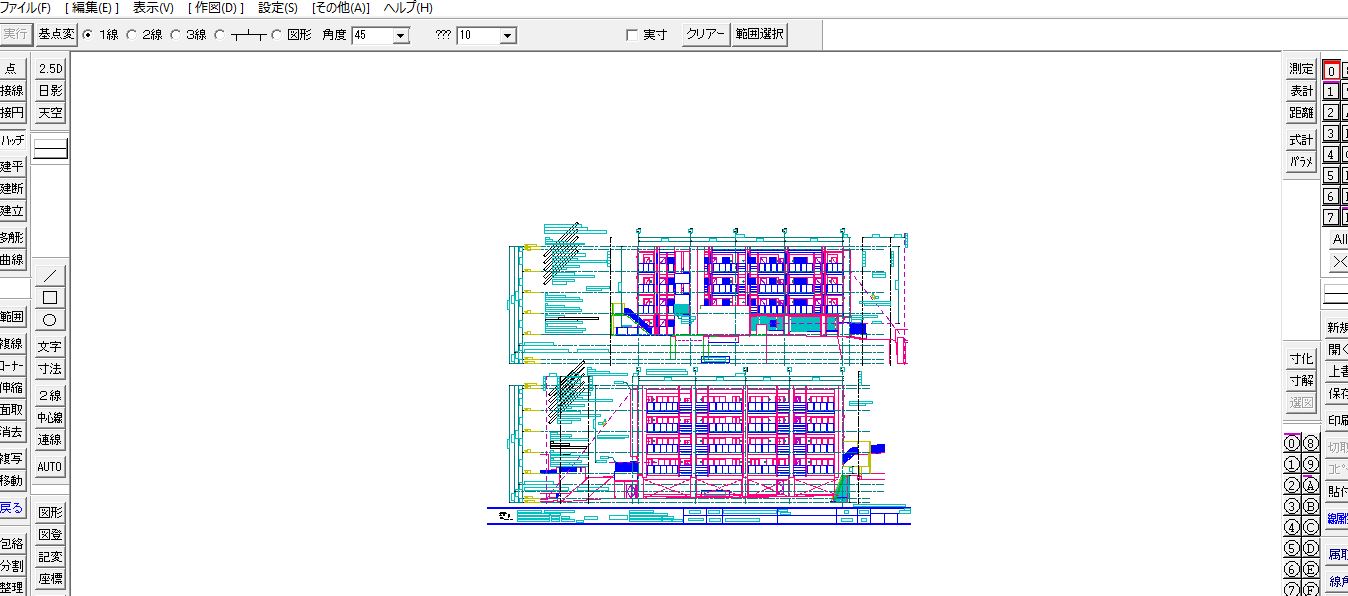
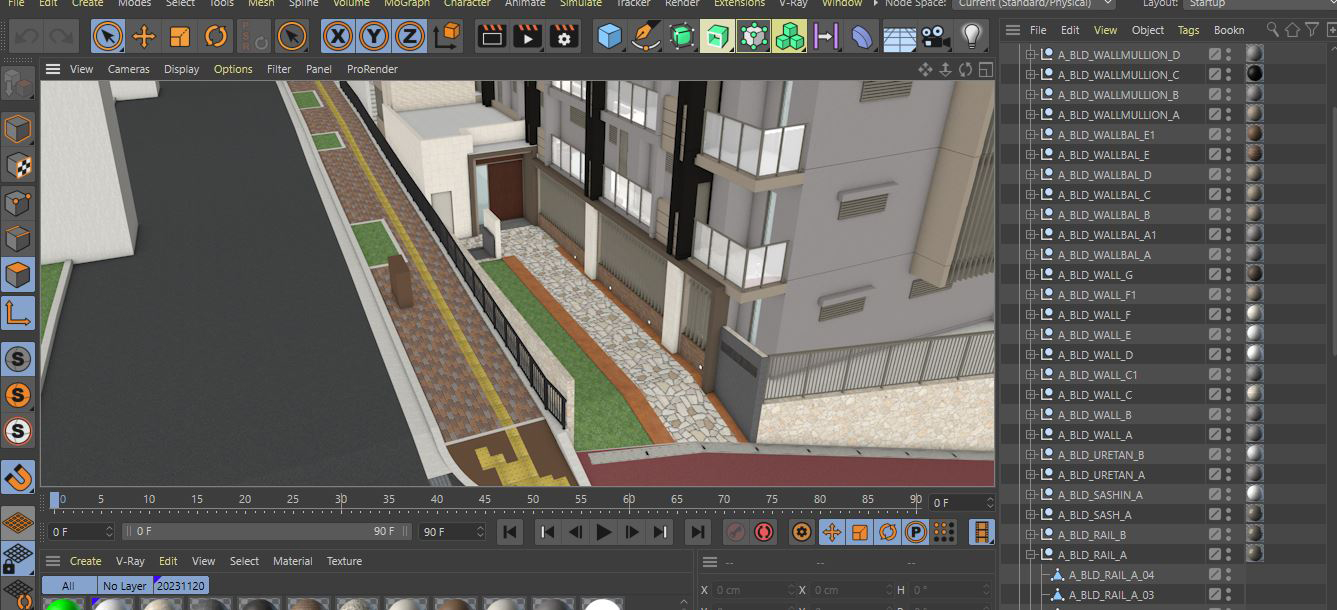
2. 3D Modeling
After gathering all the necessary information, data, drawings, and resources, the modeling process begins. Starting with a detailed study of the available drawings is crucial, as it helps to understand the project and complete it with greater accuracy and precision. This also helps to speed up the process.
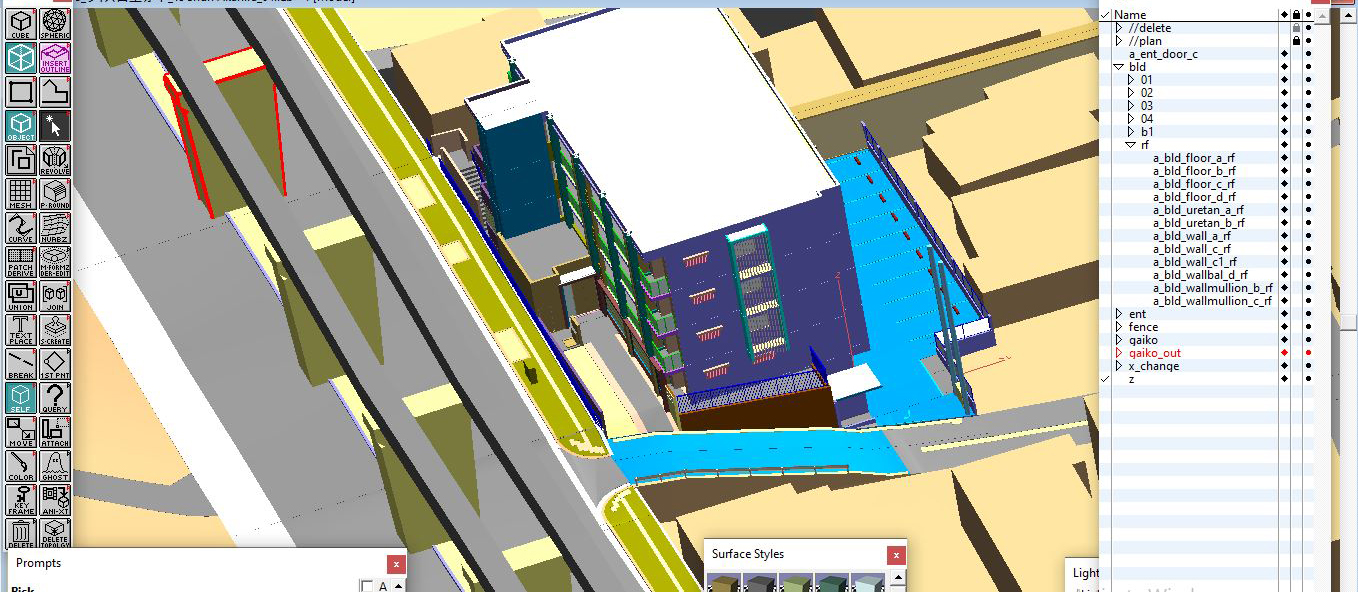
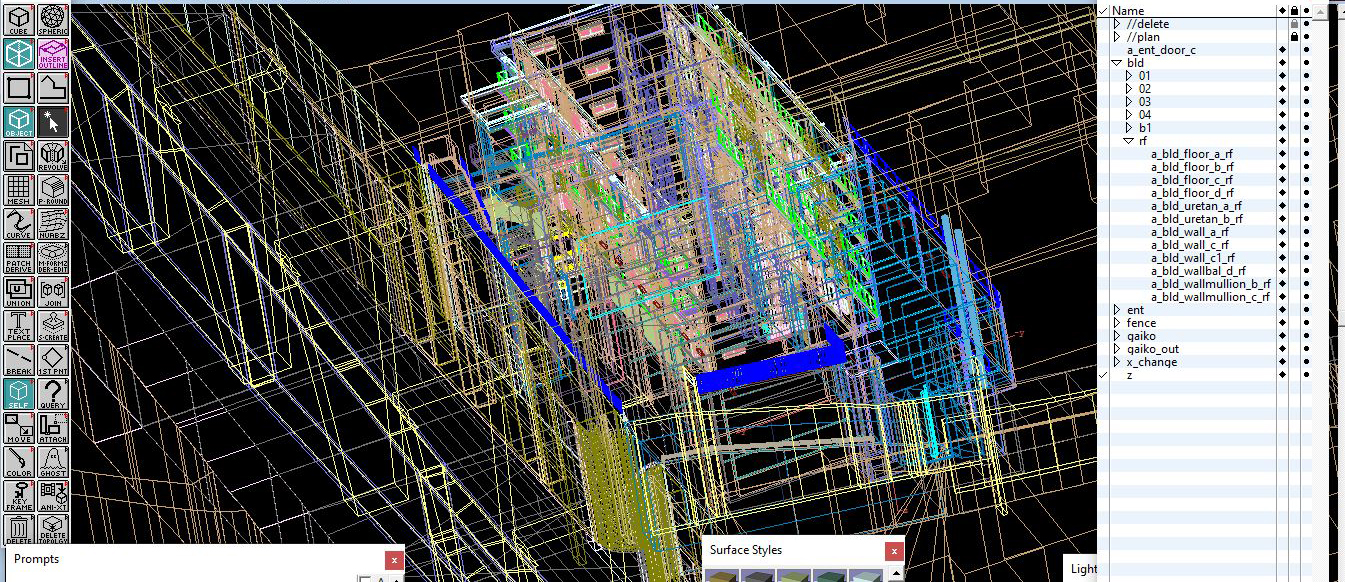
Importing cleaned up plans and elevation make the main foundation for 3d model. FormZ is a primary tool for modeling. FormZ is very accurate and easy to use, speeding up the work as it is designed for both speed and accuracy. This is the process where our main focus remains. If the 3D modeling is finely detailed, it helps to achieve more refined results in the final product.
3. Texturing and Materials
Real-life images are major sources of textures and materials. High-resolution photos of real materials are converted to the required size and shape. Modifications are done using Photoshop.
The camera is placed according to the requirements of the project. Good composition is essential for better results. Cinema 4d is an important tool for texturing. Textures must be mapped precisely. Good mapping and accurate sizing of textures add realism to the final product. Vray is the main rendering engine used in the process. V-Ray materials are created and applied to models imported from FormZ.

4. Lighting and Rendering
Lighting is a key step in architectural visualization. It determines how the final product will appear in terms of mood, realism, and aesthetic appeal. Natural lighting setups like skylights, HDRI, and global illumination are some of the methods used to achieve good lighting. Choosing the rendering engine also affects the quality of the final product.
Several render tests are essential because the final render takes a lot of time and effort. Achieving quality close to the final renders during tests helps save time and effort. Vray is used for rendering. Rendering passes are implemented to gain greater control in post-production, where they can be adjusted individually to fine-tune the final images. The final render is performed after confirming the quality and requirements.
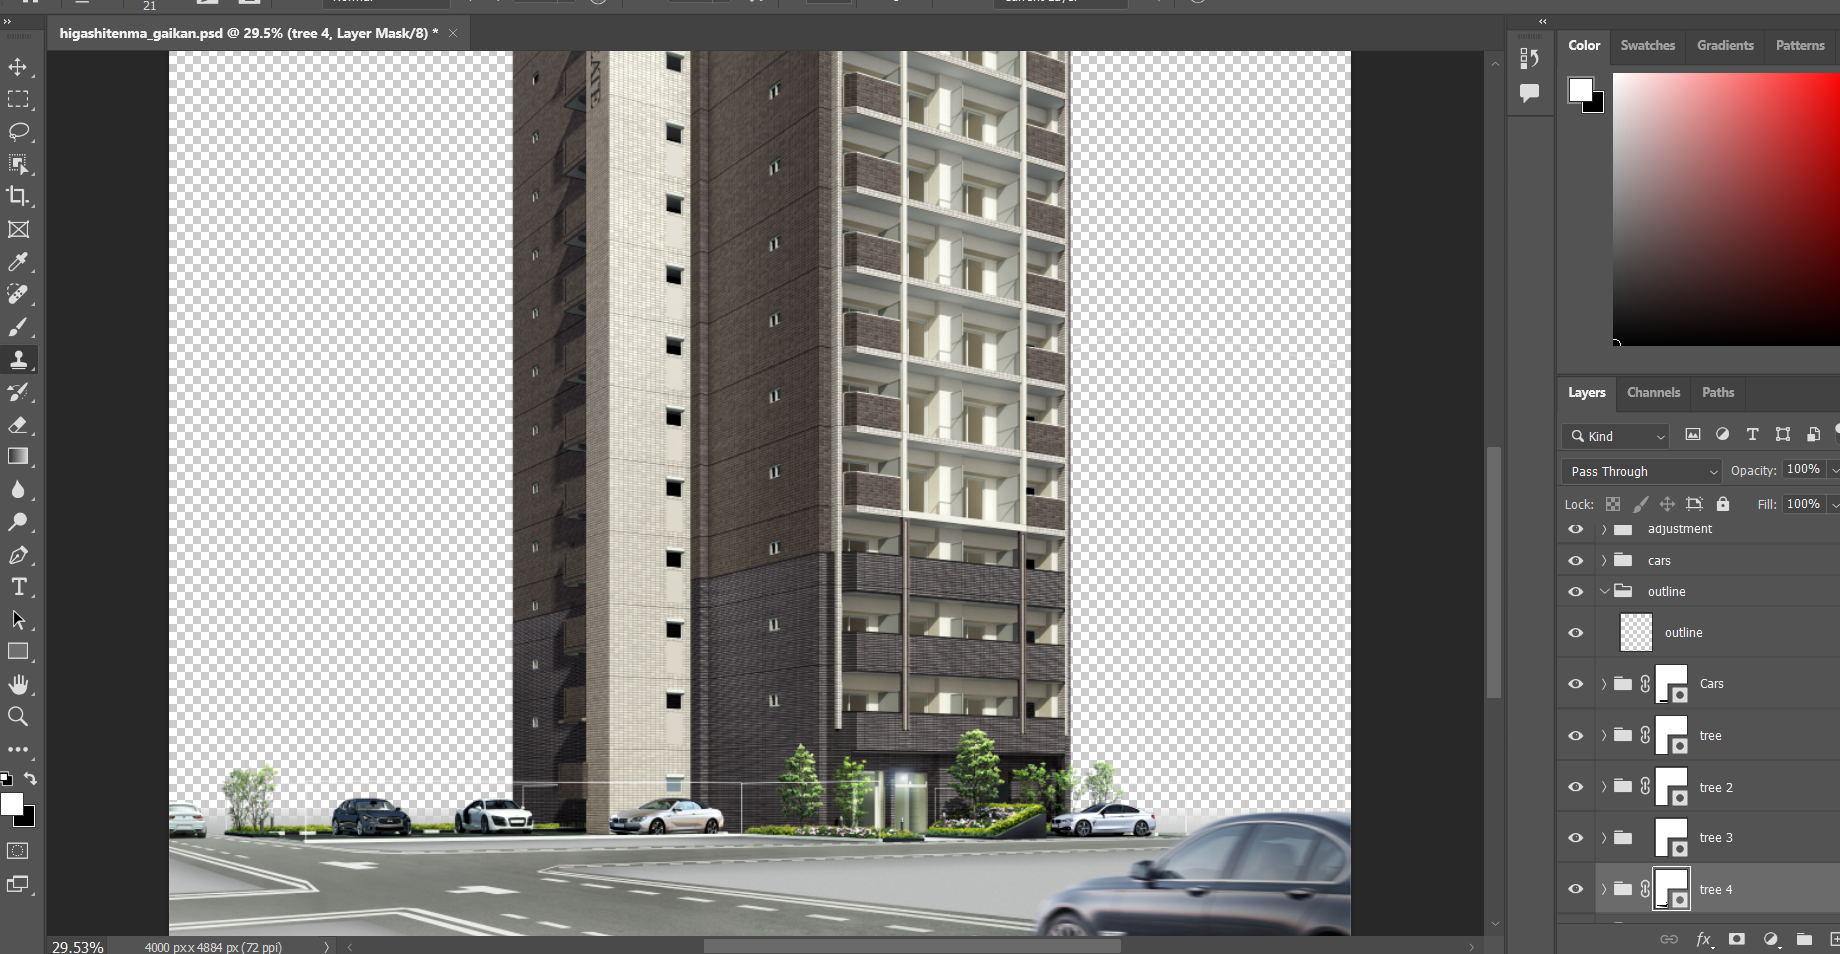
5. Post Production
The post-production phase is where the rendered images are refined and polished to achieve the final, professional look. Typically, this step is transferred to a different person or department due to its distinct skill set. However, in smaller companies, a single person may handle the task. Final touches are applied to the output.

6. Delivery and Feedback
Feedback is continously process that is done parallel with post production. In main cases, we need to make changes in modeling too. Final delivery is done when client is satisfied the results.